Hey there! Are you ready to keep your pool sparkling and enjoyable all summer long? Well, look no further because in this article, we are going to talk about the essential task of pool pump maintenance. Whether you’re a seasoned pool owner or just starting out with your first pool, understanding how to properly maintain your pool pump is key to ensuring crystal clear water and a trouble-free swimming experience. So, let’s dive in and discover the secrets to keeping your pool pump running smoothly and efficiently.
Cleaning the Pump Basket
Removing the Pump Basket
To begin the process of cleaning your pump basket, you will first need to locate it. The pump basket is usually located near the front of the pump, just below the lid. Once you have located the basket, carefully remove the lid by twisting it counter-clockwise. Be sure to hold onto the lid and remove it slowly, as there may still be some water inside the basket.
With the lid removed, you can now lift the basket out of the pump. Take care not to drop any debris back into the pump when removing the basket. Inspect the basket for any large debris such as leaves or twigs and remove them before proceeding to the next step.
Cleaning the Pump Basket
Now that you have removed the pump basket, it’s time to clean it thoroughly. Start by rinsing the basket with a hose to remove any loose debris. Then, fill a bucket with warm water and a mild detergent. Use a soft brush or sponge to scrub away any remaining dirt or grime. Pay close attention to the corners and crevices of the basket, as debris can easily become trapped in these areas.
After scrubbing the basket, rinse it thoroughly with clean water to remove any soap residue. Inspect the basket again to ensure it is completely clean before returning it to the pump.
Replacing the Pump Basket
Once the pump basket is clean and free of debris, it’s time to return it to its rightful place in the pump. Carefully lower the basket back into the pump, making sure it is seated properly. Then, replace the pump lid by twisting it clockwise until it is securely in place. Be sure not to overtighten the lid, as this can cause damage.
With the pump basket successfully cleaned and replaced, your pump is now ready to operate efficiently and effectively.
Inspecting and Cleaning the Impeller
Accessing the Impeller
To access the impeller, you will first need to disconnect the power to your pump. Locate the electrical switch or circuit breaker that controls the pump and turn it off. This step is crucial for your safety while working with the pump.
Next, remove the pump lid by twisting it counter-clockwise, similar to the process of removing the pump basket. Once the lid is off, you will have a clear view of the impeller.
Inspecting the Impeller
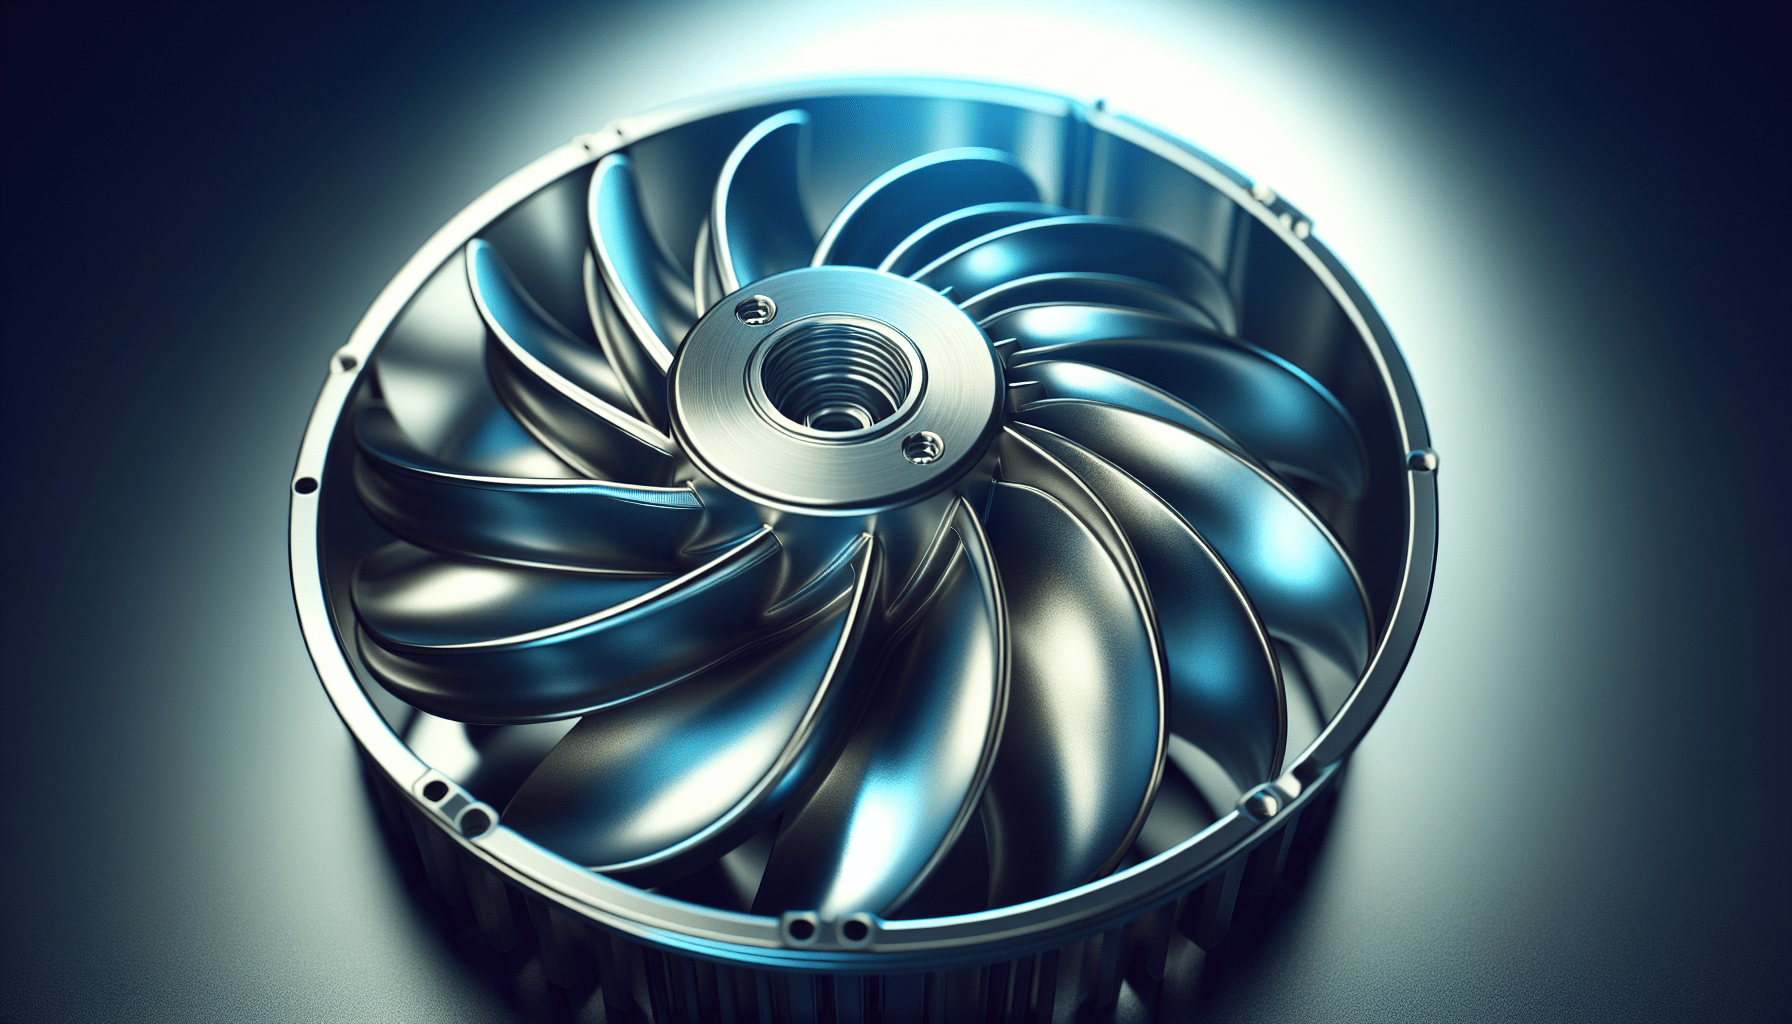
Inspecting the impeller is an important part of regular pump maintenance. Look for any signs of damage, such as cracks or chips. If you notice any significant damage, it may be necessary to replace the impeller.
Additionally, check for any debris that may be stuck in the impeller. Use a small brush or toothbrush to carefully remove any debris, taking care not to scratch or damage the impeller blades.
Cleaning the Impeller
If the impeller is clogged with debris, it’s essential to clean it thoroughly. Start by removing any large debris that you can easily reach with your fingers or tweezers. Then, use a soft brush or toothbrush to gently scrub away any remaining debris. Ensure you clean both the impeller housing and the blades themselves.
Once the impeller is clean, take a moment to inspect it again to ensure all debris has been removed. If necessary, repeat the cleaning process until the impeller is completely free of obstructions.
Checking for Leaks
Examining the Pump Housing
Before inspecting the seals and O-rings, it’s important to check for any leaks in the pump housing. Look for any signs of water dripping or pooling around the pump. Water leaks can indicate a problem with the pump’s seals or other components.
If you spot any leaks, it’s essential to address them promptly to prevent further damage to the pump and its surrounding area. Make a note of the exact location and size of the leak for further assessment and repair.
Inspecting the Seals and O-Rings
Once you have checked for leaks and identified any problem areas, it’s time to inspect the seals and O-rings. These components play a vital role in keeping the pump watertight and preventing leaks.
Carefully remove the pump lid, exposing the seals and O-rings. Inspect them for any signs of wear, deterioration, or damage. If you notice any issues, it may be necessary to replace these components to ensure proper sealing and prevent future leaks.
Repairing or Replacing Leaking Components
If you have identified any leaks or damage to the seals or O-rings, it’s crucial to take appropriate action. Depending on the extent of the damage, you may be able to repair the components using a sealant or lubricant designed for pump applications. However, in cases of severe damage, it may be necessary to replace the affected seals or O-rings entirely.
Consult the pump’s manufacturer or a professional pool technician for guidance on the best course of action. Properly addressing any leaks or damaged components will help maintain the integrity of your pump and prevent further issues down the line.
Maintaining the Motor
Cleaning the Motor
Maintaining the motor of your pool pump is essential for its longevity and performance. Start by disconnecting the power supply to the pump. Then, use a soft brush or cloth to gently remove any dust or debris from the motor’s exterior. Pay attention to the vents and fan blades, as these areas can accumulate debris over time.
Avoid using water or any liquid cleaning agents when cleaning the motor. Instead, focus on dry cleaning methods to prevent any damage to the motor’s electrical components.
Inspecting the Motor’s Wiring
After cleaning the motor, take a moment to inspect its wiring for any signs of wear or damage. Look for loose or frayed wires, as well as any corrosion. If you notice any issues, it’s important to address them promptly to ensure the motor’s safe and efficient operation.
If you are unsure about inspecting or repairing the motor’s wiring, it’s best to consult a professional pool technician who can provide expert guidance and assistance.
Lubricating Motor Bearings
Proper lubrication of the motor bearings is crucial for smooth operation and reduced friction. Locate the motor bearings and apply a small amount of lubricant specifically designed for pool pump motors. Be sure to use the recommended type and amount of lubricant specified by the pump’s manufacturer.
Avoid over-lubricating the bearings, as excess lubricant can interfere with the motor’s functionality. Follow the manufacturer’s instructions carefully to ensure proper lubrication without causing any issues.
Regularly maintaining the motor of your pool pump will help extend its lifespan and ensure efficient operation.
Checking the Pump Lid and O-Ring
Inspecting the Pump Lid
Checking the pump lid regularly is essential to prevent any issues with the pump’s performance. Start by removing the pump lid, ensuring that the power supply to the pump is turned off for safety.
Inspect the pump lid for any signs of cracks or damage. Even small cracks can cause air leaks, which can negatively impact the pump’s efficiency. Additionally, check the lid’s sealing surface for any debris or dirt that may prevent a proper seal.
If you notice any cracks or damage, it’s crucial to replace the pump lid promptly to maintain optimal pump performance.
Cleaning and Lubricating the Pump Lid O-Ring
The O-ring on the pump lid plays a vital role in creating a secure and watertight seal. Over time, this O-ring can become dirty or dry, compromising its functionality. Regular cleaning and lubrication will help ensure a proper seal and prevent air leaks.
Start by carefully removing the O-ring from the pump lid. Clean it thoroughly with mild detergent and warm water, removing any dirt or debris. Ensure the O-ring is completely dry before proceeding.
Once dry, apply a thin layer of lubricant specifically designed for O-rings. Ensure that the lubricant is evenly distributed across the O-ring’s surface. Be cautious not to use excessive lubricant, as this can cause the O-ring to slip, resulting in improper sealing.
Replacing the Pump Lid O-Ring
If you notice any signs of wear or damage on the pump lid O-ring, it’s best to replace it promptly. A worn or damaged O-ring can lead to air leaks, which negatively affect the efficiency and performance of the pump.
Consult the pump’s manufacturer for the appropriate replacement O-ring. When replacing the O-ring, ensure that it is the correct size and type for your specific pump model. Properly installing a new O-ring will help maintain a secure and watertight seal.
Verifying Pressure Gauge and Pressure Relief Valve
Checking the Pressure Gauge
The pressure gauge on your pool pump plays a crucial role in monitoring the system’s pressure. Start by ensuring that the pump is running and the system is pressurized. Take note of the pressure reading on the gauge.
If the pressure reading is unusually high or low, it may indicate a problem with the pump or the filtration system. Consult the pump’s manual or a professional technician to determine the appropriate pressure range for your specific pump model.
If the pressure gauge is not displaying any reading, or if it is damaged or malfunctioning, it’s important to replace it promptly. A functioning pressure gauge will help you monitor the system’s pressure accurately and identify any potential issues.
Checking the Pressure Relief Valve
The pressure relief valve is an essential safety feature of your pool pump system. It helps alleviate excess pressure within the system, preventing potential damage or hazards.
To check the pressure relief valve, turn off the pump and wait for the system to depressurize completely. Locate the pressure relief valve and inspect it for any signs of leaks or damage. Ensure that the valve is free of debris or obstructions that may hinder its functionality.
If you notice any issues with the pressure relief valve, such as leaks or damage, it’s crucial to address them promptly. Consult a professional pool technician for guidance on repairs or replacement to ensure the system’s safety and proper operation.
Testing the Timer and Switch
Testing the Timer
If your pool pump is equipped with a timer, it’s important to periodically test its functionality. Start by ensuring the power supply to the pump is turned off. Then, set the timer to activate the pump at a specific time.
Wait for the designated time and observe if the pump starts as programmed. If the pump fails to start or if the timer does not operate as expected, it may indicate a problem with the timer. Consult the timer’s manual or a professional technician to troubleshoot the issue and ensure proper functioning.
Checking the Switch
The switch on your pool pump allows you to manually turn the pump on and off. It’s essential to check the switch periodically to ensure it is functioning correctly.
Turn off the power supply to the pump before inspecting the switch. Carefully examine the switch for any signs of damage or wear. If the switch feels loose or if you notice any issues, it may be necessary to replace it.
A functioning switch is crucial for controlling the operation of the pump manually. Additionally, a malfunctioning switch may pose a safety hazard. Consult a professional pool technician for assistance if you encounter any issues with the pump switch.
Inspecting and Cleaning the Strainer Basket
Removing the Strainer Basket
The strainer basket is another essential component of your pool pump system. Start by turning off the power supply to the pump before proceeding.
Locate the strainer basket, usually located near the front of the pump. Twist the lid counter-clockwise to remove it, similar to the process of removing the pump basket lid. Slowly lift the strainer basket out of the pump, being cautious not to drop any debris back into the pump.
Cleaning the Strainer Basket
Cleaning the strainer basket is crucial for maintaining proper water flow and preventing clogs in the system. Start by rinsing the basket with a hose to remove any loose debris. Then, fill a bucket with warm water and a mild detergent.
Use a soft brush or sponge to thoroughly clean the strainer basket, paying attention to corners and crevices where debris often accumulates. Rinse the basket thoroughly with clean water to remove any soap residue.
Inspect the strainer basket to ensure it is completely clean before returning it to the pump.
Replacing the Strainer Basket
Once the strainer basket is clean and free of debris, it’s time to return it to the pump. Carefully lower the basket back into the pump, ensuring it sits properly. Replace the lid by twisting it clockwise until it is securely in place. Avoid overtightening the lid to prevent damage.
Maintaining a clean and functional strainer basket is essential for efficient pump operation and proper water circulation.
Maintaining Proper Water Chemistry
Monitoring Water Chemistry Levels
Maintaining proper water chemistry is crucial for the health and safety of pool users. Start by regularly testing the water’s pH, chlorine, and alkalinity levels using a reliable testing kit.
Monitor the test results closely and take appropriate action to balance the water chemistry as needed. Follow the instructions provided with your testing kit or consult a pool professional for guidance on specific water chemistry levels required for optimal pool maintenance.
Regularly testing and monitoring the water chemistry will help ensure a safe and enjoyable swimming experience.
Balancing pH and Sanitizer Levels
One of the most critical aspects of maintaining proper water chemistry is balancing the pH and sanitizer levels. Pool water with imbalanced pH can cause discomfort to swimmers and even damage the pool equipment.
To balance the pH, use a pH increaser or pH reducer as needed. Follow the manufacturer’s instructions carefully and retest the water after making adjustments to ensure the desired pH level is achieved.
Sanitizer levels, typically measured by the chlorine or bromine level, play a vital role in preventing harmful bacteria and maintaining water clarity. Regularly test the sanitizer levels and adjust them as necessary. Consult a professional pool technician for guidance on the appropriate sanitizer levels based on your specific pool conditions.
Balancing pH and sanitizer levels is crucial for maintaining a clean and healthy swimming environment. Regularly testing the water chemistry and taking prompt action to adjust levels will ensure optimal pool maintenance.
Regular Pump Inspection and Maintenance Schedule
Creating a Pump Maintenance Schedule
To ensure proper pump performance and longevity, it’s essential to establish a regular pump inspection and maintenance schedule. Create a schedule that suits your pool’s needs and consider factors such as pool usage, local climate, and other environmental conditions.
A typical pump maintenance schedule may include weekly or monthly tasks such as cleaning the pump basket and strainer basket, inspecting the seals and O-rings, and monitoring water chemistry levels. Additionally, it is advisable to perform more in-depth inspections and maintenance tasks, such as inspecting the impeller and motor, on a quarterly or annual basis.
Establishing a comprehensive and consistent maintenance schedule will help prevent major issues, prolong the lifespan of your pump, and ensure a safe swimming experience.
Performing Routine Pump Inspection and Maintenance
Once you have created a pump maintenance schedule, it’s essential to follow it consistently. Perform routine inspections and maintenance tasks according to the designated frequency.
Regularly inspect and clean the pump basket and strainer basket, ensuring they are free of debris. Check the impeller and motor for any signs of damage or wear, cleaning and lubricating them as necessary. Inspect the pump housing, seals, and O-rings for leaks or damage, addressing any issues promptly.
Take the time to test the timer, pressure gauge, and switch regularly, ensuring they are functioning correctly. Monitor the water chemistry levels and balance pH and sanitizer levels as needed.
Following a regular pump inspection and maintenance schedule is crucial for optimal pool performance and long-term equipment reliability. By taking proactive steps and addressing any issues promptly, you can enjoy a clean and well-maintained pool for years to come.
In conclusion, proper pool pump maintenance is essential for the efficient and reliable operation of your pool system. By regularly inspecting and cleaning the pump basket, impeller, and strainer basket, checking for leaks, maintaining the motor, ensuring the pump lid and O-ring are in good condition, verifying pressure gauge and relief valve functionality, testing the timer and switch, and monitoring and balancing water chemistry levels, you can ensure a clean and enjoyable swimming experience.
By following a comprehensive pump inspection and maintenance schedule and taking prompt action to address any issues, you can prolong the lifespan of your pump, prevent major problems, and ensure a safe swimming environment for you, your family, and your friends.